TFTP Recovery for Telco T1
Telco T1 TFTP Recovery Instructions for Windows, macOS and GNU/Linux.
Windows
- Install Solar Winds TFTP Client
- Download the latest TelcOS Melaleuca release for Telco T1
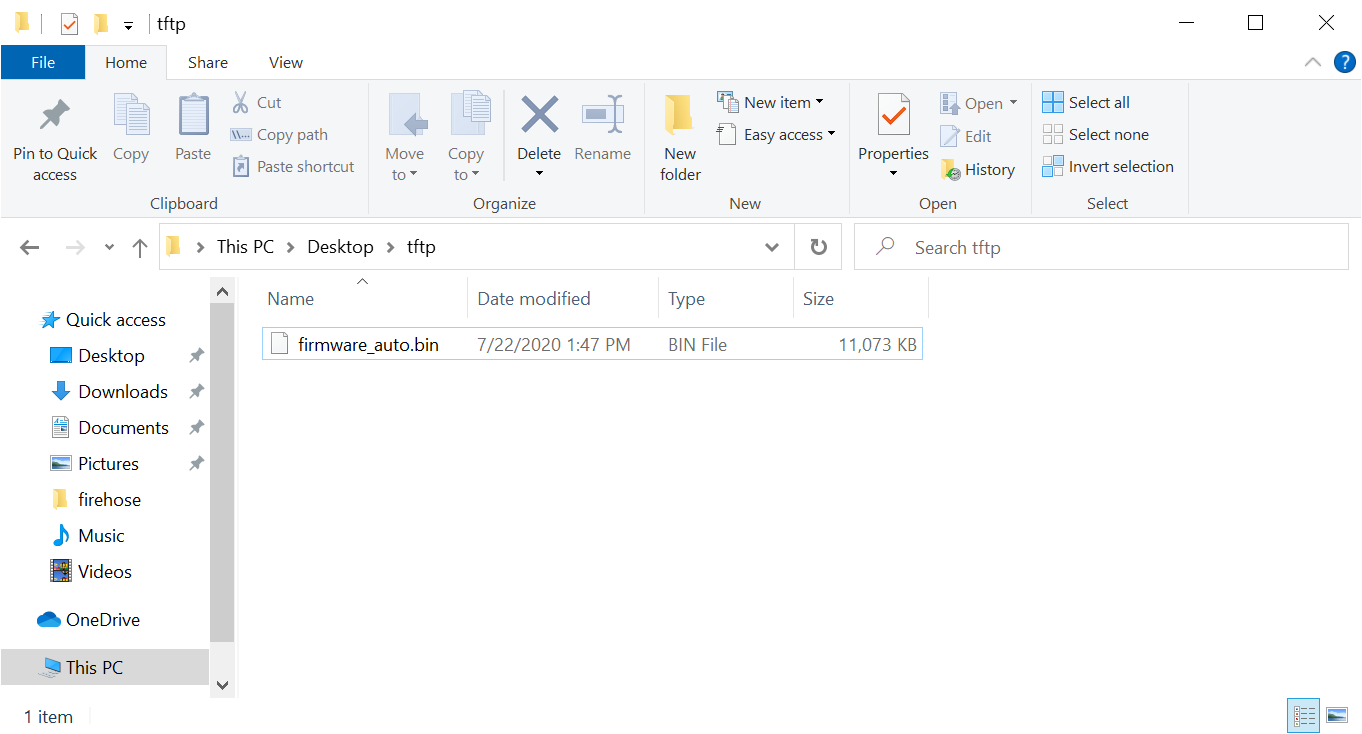
- Place the firmware file in C:\TFTP-Root or nominated TFTP directory (you can change the TFTP directory in the Solar Winds TFTP application).
- Rename the file firmware_auto.bin
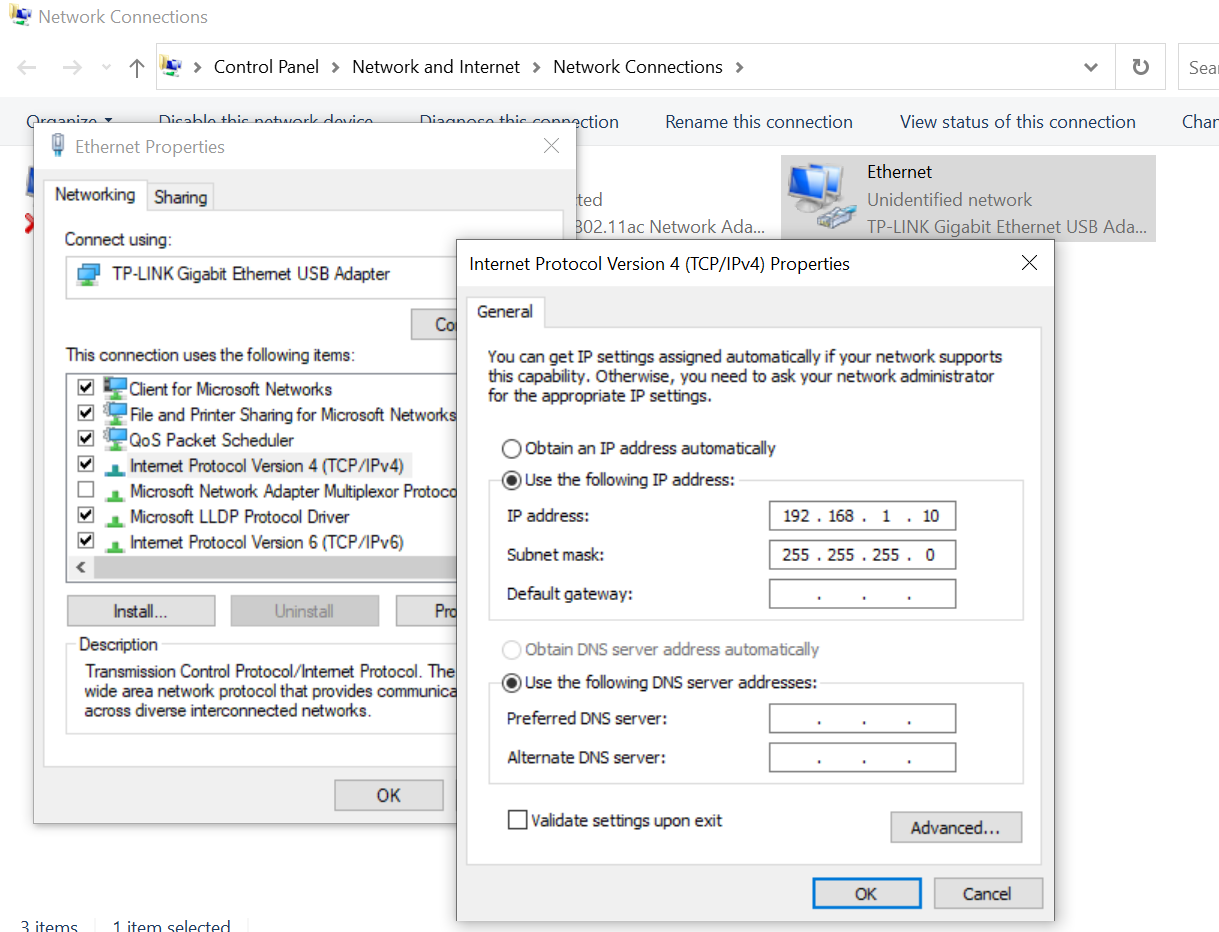
- Set the LAN interface on your PC to have a static IPv4 Address and netmask as follows:
- Address: 192.168.1.10
- Netmask: 255.255..255.0
- Start the Solar Winds TFTP Client
- Connect the Telco T1 to the LAN interface via the PoE injector LAN port
- The file transfer will happen automatically

The Telco T1 will download and begin installing the firmware, as indicated by the LEDs on the device. Do not remove power during the installation. The device will boot normally and have factory default settings after the installation is complete.
macOS
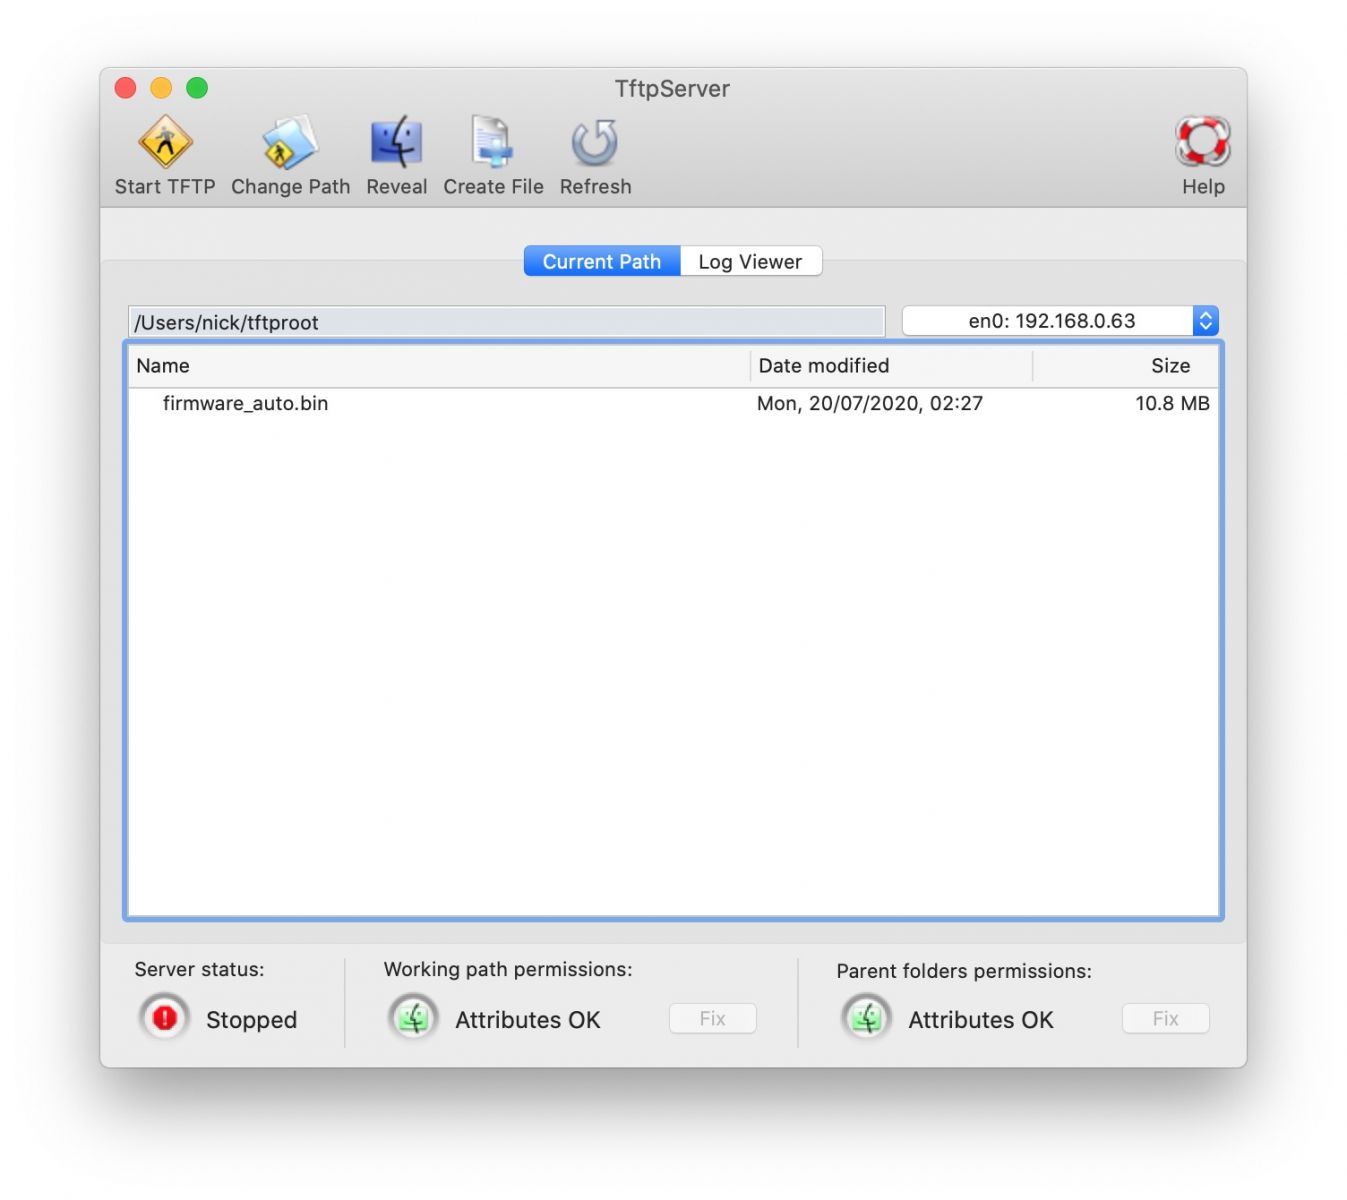
- Install the TftpServer app
- Download the latest TelcOS Melaleuca release for Telco T1
- Reveal the TFTP directroy and place the firmware file in the TFTP serving directory
- Rename the file firmware_auto.bin
5. Turn off WiFi and any other network connections temporarially
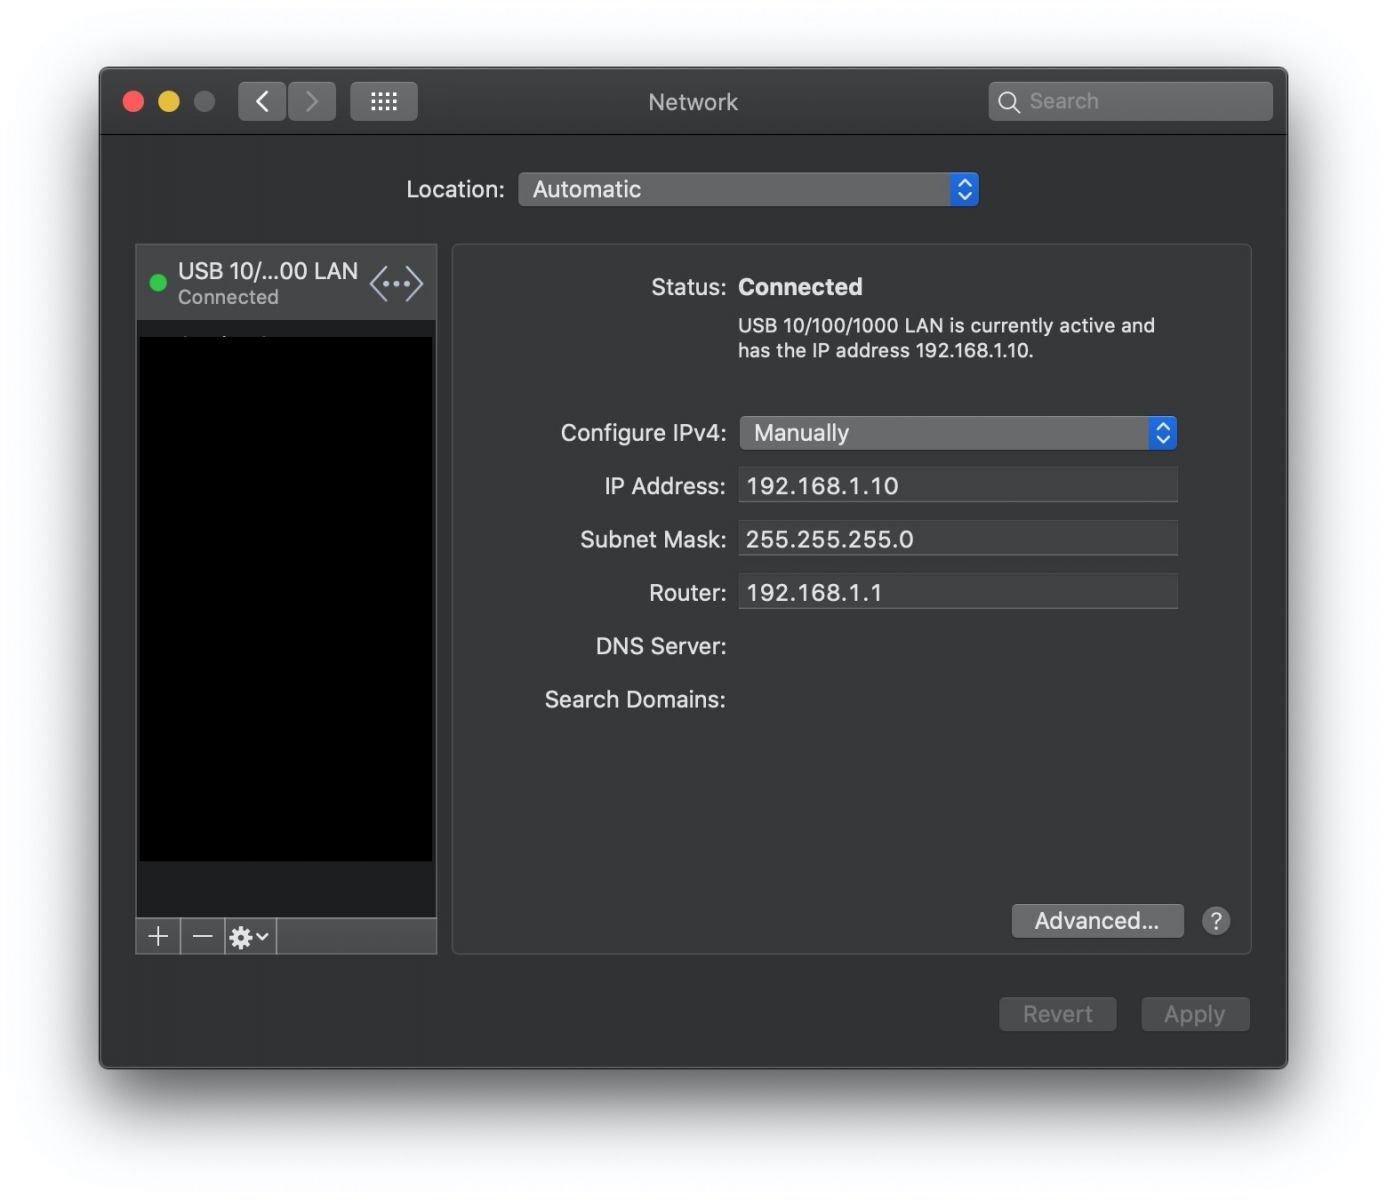
6. Set your Mac's Ethernet port to use a static address with the following settings:
- Configure IPv4: Manually
- Address: 192.168.1.10
- 255.255.255.0
- 192.168.1.1
7. Start the TFTP server.
8. Connect the Telco T1 to the network interface you just configured and power it on. The Telco T1 will download and begin installing the firmware, as indicated by the LEDs on the device. Do not disconnect the power during the installation. The device will boot normally and have factory default settings after the installation is complete.
GNU/Linux
- Install a TFTP server for your distribution
- Download the latest TelcOS Melaleuca release for Telco T1
- Place it in the TFTP serving directory
- Rename the file firmware_auto.bin
- Turn off WiFi and any other network connections temporarially
- Set an ethernet port on your computer to use a static address with the following settings:
- Address: 192.168.1.10
- 255.255.255.0
- 192.168.1.1
7. Start the TFTP server.
Connect the Telco T1 to the network interface you just configured and power it on. The Telco T1 will download and begin installing the firmware, as indicated by the LEDs on the device. Do not remove power during the installation. The device will boot normally and have factory default settings after the installation is complete.